My New Pinterest Inspired Desk
I was inspired by Ashley at Domestic Imperfection when I saw her post for an Awesome Stenciled Paisley Table.
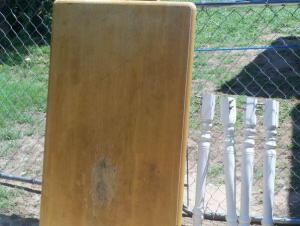
I knew I had to have one. I scoured Craigslist, and found a $10 table that had been posted over a month ago. On a whim, I emailed and asked if it was still available– it was. Here is the before pic. It doesn’t look like much, but I saw its potential. 
I talked my hubby into driving over the next morning on our way to have lunch with his family for Father’s Day. When we got home that evening, I promptly got out the sander and had him help me position it on our workbench. In no time, I had it stripped down to bare wood. I dug around in my paint stash and found a partial can of Minwax Jacobean stain.  I put one of my husband’s old socks on my hand, and used it to stain the top of the table. I let it dry for about an hour and then I put another coat of stain on.
I looked all over town and online for a large paisley stencil. I loved the one Ashley used, but it was a whopping $54, and I wasn’t prepared to spend that much on a stencil. I’ve never used a stencil on furniture, so that sounded a little daunting. Lowe’s had some Martha Stewart brand stencils, but no paisley, Michael’s also didn’t have a paisley. So armed with a 40% of coupon, I went to Hobby Lobby. There was no paisley there, but I found a gorgeous large repeat pattern for $16.99, and my coupon brought it down to $11.03.  Whew, much better.
I had painted my laundry room in the last year, so I had some light blue wall paint left over. I quickly read the stencil directions, which aren’t that clear. So I read them again. Something about a straight edge, and lining up the little arrows on the stencil for the repeat. How hard could this be? I used the edge of the table as my straight edge. That worked great for the first three times, but then I quickly realized everything was slanting slightly down and left, which meant the right side of my table top was going to have a bald spot. So I faked it, and moved the stencil over on the next one. Then after I was finished with the top, I went back and filled in some of the blank areas with little curly cues here and there. Every time I used the stencil, I hung it up and let it completely dry before I used it again. It was a little time consuming, but worth the effort. The one time I was impatient, I got paint on my table and had to scrape it off and clean up the mess.
I let the table top dry and began sanding the legs. I didn’t sand them all the way to bare wood, basically just knocked the shine off with a palm sander and 220 grit sand paper. I primed the legs and let them dry, then did several light coats of blue. After drying overnight, I did another light sanding, and another light coat of blue. Use thin, light coats of paint for the best results. Don’t ask me why I know this, just take my word for it. I did a light coat of spray on polyurethane over the stenciling, but I wasn’t happy with the results of the spray. So after drying for 24 hours, I lightly sanded with steel wool, and flipped the table over. I sanded the “skirt” around the table and primed and painted it blue, to match the legs.
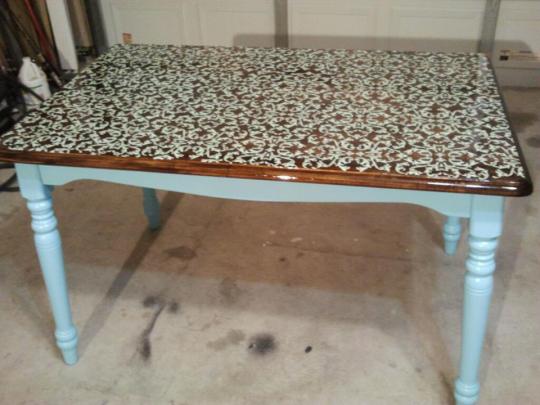
After the legs and skirt were dry, I put the legs back on the table and had my husband help me flip it over and stand it up. I used a damp rag to wipe off any excess dust from the table top, and then used a brush on polyurethane clear coat. After two heavy coats, this is what my new desk looks like.
I absolutely love it.
Ashley has much better step by step directions, so I highly recommend using hers.
Cost breakdown
Craigslist Table $10
Hobby Lobby Stencil $11.03
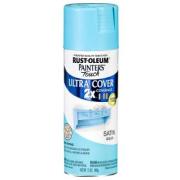
Two cans of Painter’s Touch Aqua paint and 1 can of primer $12.57
Small can of polyurethane $7
Jacobean Stain – free
Leftover wall paint for stencil design – free
Total cost $40.60


